针对之前的博文有一些细节还没有更新,因此重新整理并给出全部资料
1 加载手写数字数据
# 加载手写数字数据 70000个
from tensorflow.keras.datasets import mnist
(train_images, train_labels), (test_images, test_labels) = mnist.load_data()
print(train_images.shape)
原始数据为(6000,28,28)构建密集连接网络时需要将数据转换为(6000,28×28)
# 数据形状变化转换为一维数据,采用密集连接神经网络
train_images = train_images.reshape((60000, 28 * 28))
train_images = train_images.astype("float32") / 255
test_images = test_images.reshape((10000, 28 * 28))
test_images = test_images.astype("float32") / 255
# 绘制训练数据
train1=train_images.reshape((60000, 28,28))
import matplotlib.pyplot as plt
for i in range(3):
    digit = train1[i]
    plt.imshow(digit, cmap=plt.cm.binary)
    plt.show()

# 绘制测试数据 共10个这是后面需要测试的数据
test1=test_images.reshape((-1, 28,28))
import matplotlib.pyplot as plt
for i in range(10):
    digit = test1[i]
    plt.imshow(digit, cmap=plt.cm.binary)
    plt.show()
    print(test_labels[i])

for i in range(10):
    print(test_labels[i])

# 不保存数据与后后续测试
import numpy as np
np.save('data.npy', test1[:10])
np.save('data1000.npy', test1[:1000])
# 载入并查看是否符合预期
data=np.load('data.npy')
data.shape
密集神经网络构建与训练
from tensorflow import keras
from tensorflow.keras import layers
model = keras.Sequential([
layers.Dense(512, activation="relu"),
layers.Dense(10, activation="softmax")
])

model.compile(optimizer="rmsprop",
loss="sparse_categorical_crossentropy",
metrics=["accuracy"])

model.fit(train_images, train_labels, epochs=5, batch_size=128)
测试数据推理
test_digits = test_images[0:10]
predictions = model.predict(test_digits)
for i in range(10):
    print(predictions[i].argmax())

# 模型评估
test_loss, test_acc = model.evaluate(test_images, test_labels)
print(f"test_acc: {test_acc}")
模型转换为ONNX用于转换为K230上可运行文件预处理
import tensorflow as tf
import os
import onnx
#需要先使用model.save方法保存模型
model.save('model')
#调用tf2onnx将上一步保存的模型导出为ONNX
os.system("python3 -m tf2onnx.convert --saved-model model --output test1.onnx --opset 13")
# 检测是否转换正确
import onnx
onnx_model = onnx.load("./test1.onnx")
check = onnx.checker.check_model(onnx_model)
print('Check: ', check) # 返回 Check:  None 为成功
# 修正输入输出名称及数据格式  可以用netron查看
import onnx
onnx_model = onnx.load("./test1.onnx")
check = onnx.checker.check_model(onnx_model)
print('Check: ', check) # 返回 Check:  None 为成功
以上完成原始数据保持与AI模型的保存
下面开始模型的转换,目标硬件为K230
首先需要安装及下载nncase ,nncase用于转换AI模型在K230上的kmodel格式文件
下载nncase压缩包,在压缩包中的案例中进行更改,简化编程
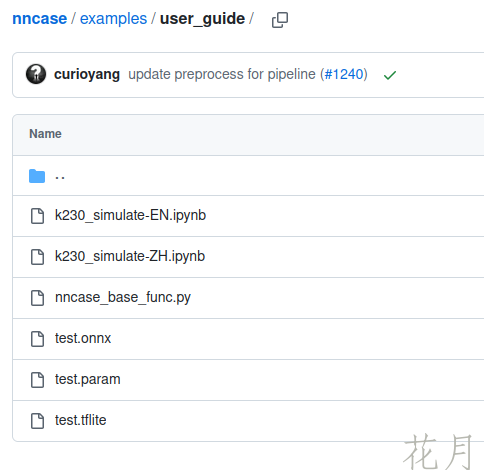
nncase
文件路径为
nncase/examples/user_guide/
文件截图
# 一段代码应该测试系统环境的
import os
import sys
import subprocess

result = subprocess.run(["pip", "show", "nncase"], capture_output=True)

split_flag = "\n"
if sys.platform == "win32":
    split_flag = "\r\n"

location_s = [i for i in result.stdout.decode().split(split_flag) if i.startswith("Location:")]
location = location_s[0].split(": ")[1]

if "PATH" in os.environ:
    os.environ["PATH"] += os.pathsep + location
else:
    os.environ["PATH"] = location
# 定义模型转换函数
import nncase
import numpy as np
from nncase_base_func import *

def compile_kmodel(model_path, dump_path, calib_data):
    """
    Set compile options and ptq options.
    Compile kmodel.
    Dump the compile-time result to 'compile_options.dump_dir'
    """
    print("\n----------   compile    ----------")
    print("Simplify...")
    model_file = model_simplify(model_path)

    print("Set options...")
    # import_options
    import_options = nncase.ImportOptions()

    ############################################
    # 你需要修改下面这段代码中的参数来适配你的模型。
    # 详细的说明可以参考docs/USAGE_v2.md.
    ############################################
    # compile_options
    compile_options = nncase.CompileOptions()
    compile_options.target = "k230" #"cpu"
    compile_options.dump_ir = True  # if False, will not dump the compile-time result.
    compile_options.dump_asm = True
    compile_options.dump_dir = dump_path
    compile_options.input_file = ""

    # preprocess args
    compile_options.preprocess = False
    if compile_options.preprocess:
        compile_options.input_type = "uint8" # "uint8" "float32"
        compile_options.overwrite_input_shapes = [1,784]
        compile_options.input_range = [0,1]
        compile_options.input_layout = "NHWC" # "NHWC"
        compile_options.swapRB = False
        compile_options.mean = [0,0,0]
        compile_options.std = [1,1,1]
        compile_options.letterbox_value = 0
        compile_options.output_layout = "NHWC" # "NHWC"

    # quantize options
    ptq_options = nncase.PTQTensorOptions()
    ptq_options.quant_type = "uint8" # datatype : "float32", "int8", "int16"
    ptq_options.w_quant_type = "uint8"  # datatype : "float32", "int8", "int16"
    ptq_options.calibrate_method = "NoClip" # "Kld"
    ptq_options.finetune_weights_method = "NoFineTuneWeights"
    ptq_options.dump_quant_error = False
    ptq_options.dump_quant_error_symmetric_for_signed = False

    # mix quantize options
    # more details in docs/MixQuant.md
    ptq_options.quant_scheme = ""
    ptq_options.quant_scheme_strict_mode = False
    ptq_options.export_quant_scheme = False
    ptq_options.export_weight_range_by_channel = False
    ############################################

    ptq_options.samples_count = len(calib_data[0])
    ptq_options.set_tensor_data(calib_data)

    print("Compiling...")
    compiler = nncase.Compiler(compile_options)
    # import
    model_content = read_model_file(model_file)
    if model_path.split(".")[-1] == "onnx":
        compiler.import_onnx(model_content, import_options)
    elif model_path.split(".")[-1] == "tflite":
        compiler.import_tflite(model_content, import_options)

    compiler.use_ptq(ptq_options)

    # compile
    compiler.compile()
    kmodel = compiler.gencode_tobytes()

    kmodel_path = os.path.join(dump_path, "test.kmodel")
    with open(kmodel_path, 'wb') as f:
        f.write(kmodel)
    print("----------------end-----------------")
    return kmodel_path
# 载入保存的数据 主要用于代表数据集与 模型推理输入
import numpy as np
data=np.load('data1000.npy')
data=data.reshape((-1,28 * 28))
print(data.shape)
print(data.dtype)
# len(data)
calib_data=[]
for i in range(2):
    calib_data.append(data[0].reshape(1,-1))

calib_data=[calib_data]
# 模型转换
# compile kmodel single input
model_path = "./test1_dim.onnx"
dump_path = "./test1_dim"
# 校正集的数量为2
#calib_data = [[np.random.rand(1, 784).astype(np.float32), np.random.rand(1, 784).astype(np.float32)]]
#calib_data = [[data.astype(np.float32)]]
kmodel_path = compile_kmodel(model_path, dump_path, calib_data)
# 输出推理结果与原始标签对比 需要在优化下,增加原始标签准确率输出
# run kmodel(simulate)
import os
kmodel_path = "./test1_dim/test.kmodel"
for i in range(10):
input_data = [data[i].reshape(1,-1)]
result = run_kmodel(kmodel_path, input_data)
print("最大值:", result[0][0].max(), "索引:", result[0][0].argmax())
for idx, i in enumerate(result):
print(i.shape)
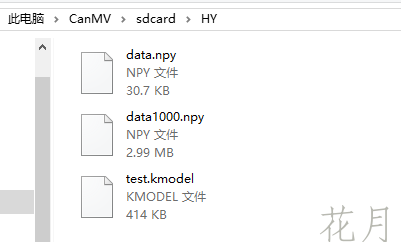
i.tofile(os.path.join(dump_path,"nncase_result_{}.bin".format(idx)))导入输入到K230中的SD卡,现在windows可以直接显示K230文件夹,可以直接将所需文件复制到相应位置
需要导入转换后的模型与需要载入的推理数据
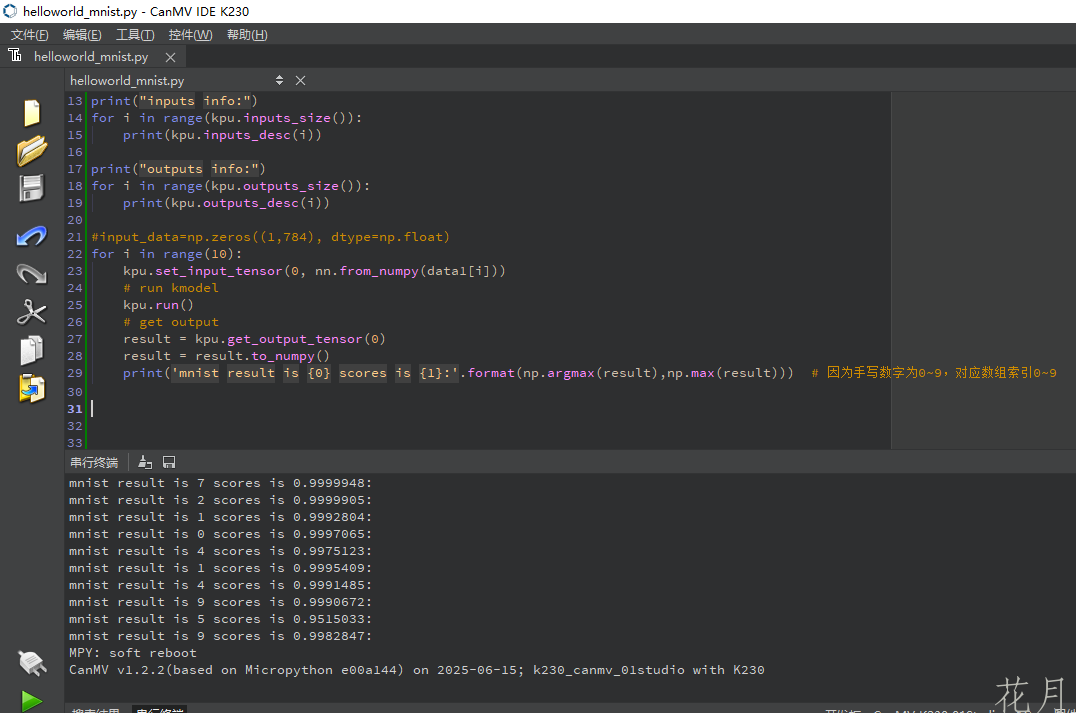
K230中运行的代码
import nncase_runtime as nn
import ulab.numpy as np

# init kpu and load kmodel
kpu = nn.kpu()
kpu.load_kmodel("/sdcard/HY/test.kmodel") # 存储模型位置

data=np.load('/sdcard/HY/data.npy')
print('data.shape',data.shape)
data1=data.reshape((10,-1))
print('data1.shape',data1.shape)
# dump model input and output info
print("inputs info:")
for i in range(kpu.inputs_size()):
    print(kpu.inputs_desc(i))

print("outputs info:")
for i in range(kpu.outputs_size()):
    print(kpu.outputs_desc(i))

#input_data=np.zeros((1,784), dtype=np.float)
for i in range(10):
    kpu.set_input_tensor(0, nn.from_numpy(data1[i]))
    # run kmodel
    kpu.run()
    # get output
    result = kpu.get_output_tensor(0)
    result = result.to_numpy()
    print('mnist result is {0} scores is {1}:'.format(np.argmax(result),np.max(result)))
输出结果
生成的文件
K230_MNIST
1 数据生成
直接采集或者其他设备传递
摄像头
ADC
SPI传输等
2 数据预处理
转换为符合输入到AI模型中的格式
3 数据AI模型
建模,例如手写字母识别
4 AI模型转换 KPU加速
K230加速,采用设备进行类别转换或者是原始浮点信号推理
5 输出结果及后处理
输出数据后处理,转换或者显示 或者与其他设备通信